How to Reduce Outdoor Lighting Electricity Cost: A Definitive Technical Guide
How to reduce outdoor lighting electricity cost The modernization of exterior illumination has evolved from a matter of basic visibility to a complex exercise in energy management. For property owners and facility managers, the financial burden of illuminating pathways, landscapes, and security perimeters is no longer an immutable fixed cost. Instead, it is a variable that can be aggressively optimized through a combination of hardware upgrades, behavioral shifts, and systemic design.
Reducing the fiscal footprint of outdoor lighting requires more than a simple bulb swap. It demands an understanding of the relationship between luminous efficacy, beam angles, and the physics of light distribution. When considering the broader implications of energy consumption, one must account for the degradation of components over time and the environmental factors, such as ambient temperature and voltage fluctuations, that dictate the efficiency of the electrical circuit.
The scope of this inquiry extends beyond the immediate reduction of a monthly utility bill. It touches upon the longevity of infrastructure and the ecological impact of light pollution. By examining the interplay between technological intervention and strategic planning, this article provides a comprehensive framework for those seeking to master the complexities of modern lighting economics.
Understanding “How to Reduce Outdoor Lighting Electricity Cost”

To properly address how to reduce outdoor lighting electricity cost, one must first dismantle the oversimplification that “off” is the only way to save money. Efficiency in this domain is defined by the “useful lumen per watt” delivered to a specific target area. A common misunderstanding involves focusing solely on the wattage of a lamp without considering the optical efficiency of the fixture housing. If a high-wattage lamp is poorly shielded, a significant portion of the paid-for energy is wasted illuminating the sky or neighbor’s windows, a phenomenon known as light trespass.
Effective management also requires navigating the paradox of diminishing returns. For instance, transitioning from a 100-watt incandescent to a 15-watt LED offers an immediate and massive reduction in consumption. However, upgrading from an older LED to a slightly more efficient modern LED may have a payback period that exceeds the lifespan of the fixture itself. Therefore, the strategic focus must remain on the intersection of hardware longevity and operational behavior.
The systemic nature of electricity costs also includes “hidden” variables such as the power factor of the lighting drivers. In commercial settings, a low power factor can result in utility surcharges that go unnoticed by the casual observer. Thus, the pursuit of cost reduction is as much about electrical engineering and procurement standards as it is about flipping a switch at dawn.
Deep Contextual Background: Historical and Systemic Evolution
The history of outdoor lighting is a chronicle of increasing luminous efficacy. Early gas lamps and carbon-arc lights were notoriously inefficient and labor-intensive. The introduction of the incandescent bulb by Edison brought reliability but at a high energy cost, as roughly 90% of the energy was converted into heat rather than light. For decades, the “solution” to high costs was simply to limit the number of fixtures, often compromising safety.
The mid-20th century saw the rise of High-Intensity Discharge (HID) lamps, including Mercury Vapor, Metal Halide, and High-Pressure Sodium (HPS). These were far more efficient than incandescents and became the standard for streetlighting and large-scale area illumination. However, they suffered from long “warm-up” periods and poor color rendering, which limited their utility in residential or nuanced architectural applications.
The true paradigm shift occurred with the commercialization of Gallium Nitride-based LEDs. This allowed for the miniaturization of light sources and the ability to direct light with surgical precision using Total Internal Reflection (TIR) optics. Today, the conversation around reducing costs has shifted from “which bulb uses the least energy” to “how can we use sensors and networking to ensure light is only present when and where it is strictly necessary.”
Conceptual Frameworks and Mental Models
To manage a lighting budget effectively, several mental models can be applied to the decision-making process:
-
The Efficacy-Utilization Matrix: This framework separates the efficiency of the light source (lumens per watt) from the efficiency of the application (lumens reaching the task). A system with high efficacy but low utilization (e.g., a bright light pointing the wrong way) is a failed investment.
-
The Inverse Square Law Awareness: Understanding that doubling the distance between the light and the ground reduces the intensity by fourfold helps in placing fixtures at the optimal height to minimize the number of units required.
-
Active vs. Passive Management: Passive management relies on high-efficiency hardware (LEDs, reflectors), while active management uses controls (photocells, motion sensors, astronomical timers). A robust strategy requires a 60/40 split between these two approaches.
-
The Lifecycle Cost Analysis (LCC): This model prioritizes the Total Cost of Ownership (TCO) over initial capital expenditure. It accounts for the fact that energy costs typically represent 70-80% of a lighting system’s lifetime cost, making “cheap” inefficient fixtures an expensive mistake.
Key Categories of Variations and Trade-offs
When evaluating hardware to determine how to reduce outdoor lighting electricity cost, several categories of equipment present themselves, each with specific trade-offs regarding durability, initial cost, and energy savings.
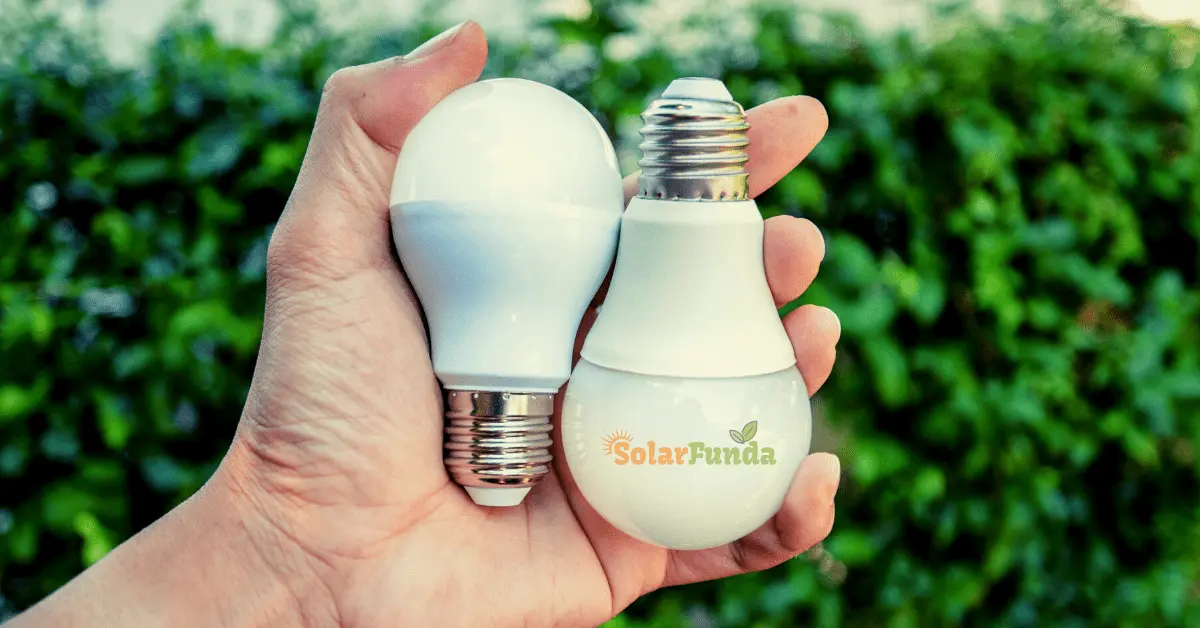
1. LED Retrofit Lamps vs. Integrated Fixtures
Retrofit lamps allow for the use of existing housings, lowering upfront costs. However, integrated fixtures are designed specifically to dissipate the heat generated by the LED chips, often resulting in a longer lifespan and better optical control.
2. Solar-Integrated Systems
Solar lights eliminate the electricity cost but are limited by battery capacity and geographical location. They are ideal for remote areas where trenching wire would be prohibitively expensive, but they often lack the lumen output required for high-security areas.
3. Motion-Sensing Controls (PIR vs. Microwave)
Passive Infrared (PIR) sensors are cost-effective but can be triggered by wind-blown foliage. Microwave sensors are more precise and can “see” through thin obstacles, but are more expensive and consume a small amount of “vampire” power while in standby mode.
4. Low Voltage (12V) vs. Line Voltage (120V/277V)
Low-voltage systems are safer and easier to install, often using less energy for landscape-scale applications. However, they require transformers, which introduce a small percentage of energy loss through heat.
Comparison Table: Efficiency and Cost Profiles
| Category | Initial Cost | Energy Savings Potential | Maintenance Requirement | Ideal Use Case |
| Standard LED | Low | High | Minimal | General replacement |
| Solar Powered | Moderate | 100% | Battery replacement | Remote pathways |
| Smart Controls | High | Extreme | Software updates | Commercial/Security |
| Dusk-to-Dawn | Low | Moderate | Sensor cleaning | Basic security |
Detailed Real-World Scenarios
Scenario A: The Commercial Parking Lot
A facility manager oversees a lot with 20 Metal Halide fixtures. Each consumes 400 watts and runs 12 hours a day. By converting to 120-watt integrated LED fixtures with bi-level dimming (dropping to 20% power when no motion is detected), the consumption drops by over 80%. The second-order effect is a reduction in maintenance labor, as the LEDs last five times longer than the bulbs they replaced.
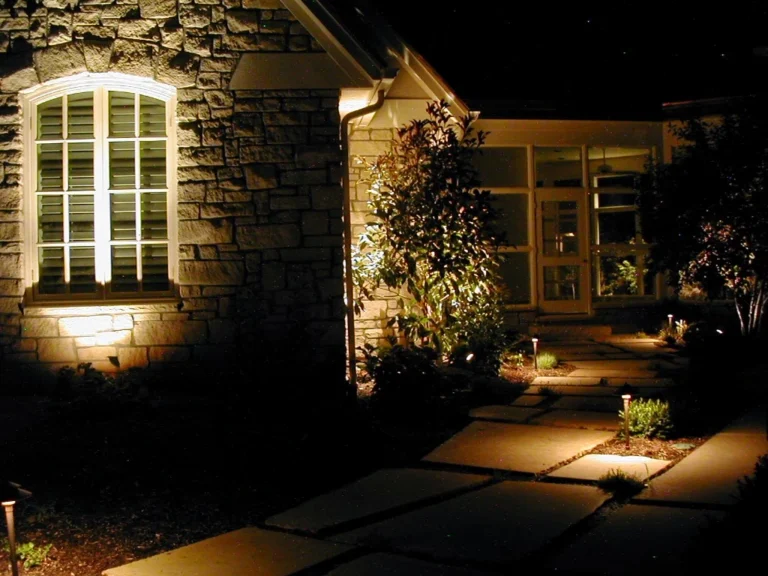
Scenario B: Residential Security Lighting
A homeowner uses 300-watt halogen floodlights for security. These are often left on all night because of a faulty sensor. Transitioning to 30-watt LED floodlights with high-quality PIR sensors ensures the lights only draw power when a person or vehicle is present. The failure mode here is often “sensor fatigue,” where the sensor remains stuck in the “on” position, negating all savings.
Scenario C: Industrial Perimeter Lighting
A warehouse uses high-pressure sodium lights for 24/7 operations in certain loading zones. By implementing astronomical timers that adjust for the shifting sunset and sunrise times based on GPS coordinates, they eliminate the wasted “daylight burn” caused by manual switches or imprecise mechanical timers.
Planning, Cost, and Resource Dynamics
The financial planning phase is where most energy-saving initiatives succeed or fail. The variability in costs is driven primarily by labor and existing infrastructure quality. If existing wiring is degraded, the cost of a “simple” upgrade can skyrocket.
| Cost Component | Range (Per Fixture) | Variable Factors |
| Hardware | $40 – $500 | Lumen output, IP rating, Smart features |
| Labor | $50 – $250 | Mounting height, location, accessibility |
| Disposal | $5 – $20 | Hazardous waste fees for HID/Mercury |
| Controls | $20 – $150 | Sensor type, networking capabilities |
Opportunity Costs
Delaying an LED transition is an active expense. For every month a 400W HID lamp remains in service, the owner is effectively paying a “penalty” equal to the difference in electricity consumption compared to a modern alternative. In many jurisdictions, this penalty exceeds the pro-rated cost of the new fixture within 18 months.
Tools, Strategies, and Support Systems
Successful cost reduction relies on a suite of tools that go beyond the screwdriver.
-
Astronomical Timers: Unlike simple photocells, these use internal calendars to calculate the exact sunset/sunrise times, preventing lights from turning on during heavy cloud cover during the day.
-
Light Meters (Lux Meters): Used to ensure that an area is not “over-lit.” Reducing light levels to the minimum required for safety can save significant energy.
-
Smart Bridges/Gateways: These allow for the centralized control of multiple zones, enabling “scene” scheduling (e.g., 100% brightness until 10 PM, 30% thereafter).
-
Heat Sinks and Thermal Management: High-quality fixtures use oversized fins to keep LEDs cool. Heat is the primary enemy of LED efficiency; as chips get hotter, their “efficacy” drops.
-
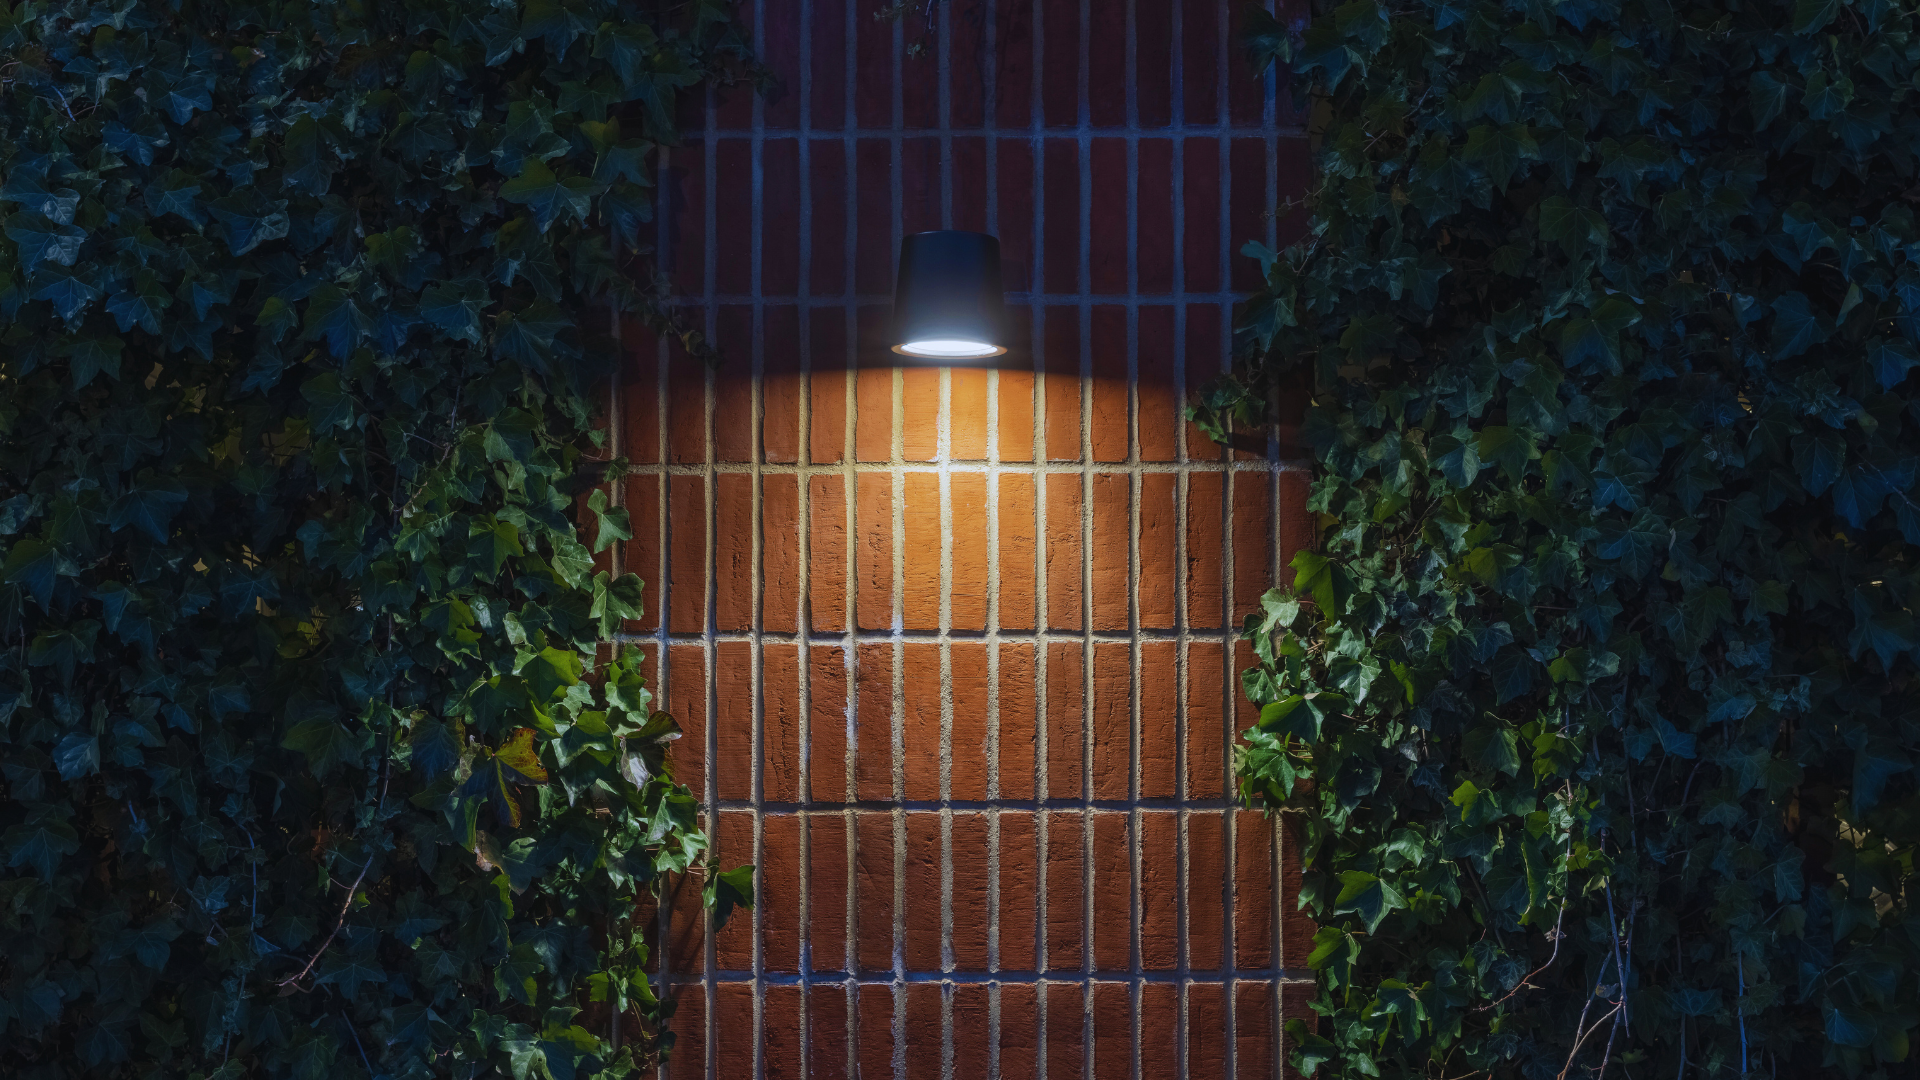
Shielding and Cut-off Optics: By using “Full Cut-off” fixtures, you ensure all light goes down to the ground. This allows you to use a lower-wattage bulb to achieve the same ground-level brightness.
Risk Landscape and Failure Modes
The transition to high-efficiency systems is not without risk. A primary failure mode is Inrush Current. LED drivers can draw a massive spike of current the moment they are turned on. If a circuit is loaded with too many LEDs, this spike can trip breakers or weld the contacts of a timer relay shut.
Another risk is Voltage Drop in low-voltage systems. If the wire gauge is too thin for the run length, the fixtures at the end of the line will receive lower voltage, causing them to either flicker or operate at sub-optimal efficiency, shortening their lifespan.
Finally, there is the Rebound Effect. Because LEDs are so cheap to run, some users respond by installing more lights than they previously had, ultimately maintaining or even increasing their total energy consumption. This behavioral failure negates the technical gains of the hardware.
Governance, Maintenance, and Long-Term Adaptation
A lighting system is not a “set and forget” asset. To maintain peak efficiency, a governance structure must be in place.
The Maintenance Checklist
-
Monthly: Clean photocell lenses. Dust or bird droppings can “trick” the sensor into thinking it is dark, keeping lights on during the day.
-
Quarterly: Inspect fixtures for moisture ingress. Water inside a fixture increases electrical resistance and can lead to premature driver failure.
-
Annually: Re-evaluate the “Lighting Zone” needs. Have trees grown to block the light? Can a fixture be moved or removed?
Adaptation Triggers
If utility rates increase by more than 15%, it should trigger a review of the “Dimming Schedule.” Implementing a deeper dimming cycle during the hours of 2 AM to 5 AM can offset rate hikes without compromising evening safety.
Measurement, Tracking, and Evaluation
You cannot manage what you do not measure. Tracking how to reduce outdoor lighting electricity costs requires both quantitative and qualitative data points.
-
Leading Indicators: The percentage of fixtures converted to high-efficacy LEDs; the number of hours sensors are active.
-
Lagging Indicators: The “Lighting Line Item” on the utility bill; the interval between fixture failures.
Documentation Examples
-
The Photometric Map: A visual representation of light levels across a property. This helps identify “hot spots” where light is being wasted.
-
The Burn-Hour Log: A simple spreadsheet tracking the estimated run time of each circuit.
-
The ROI Tracker: A document comparing the capital spent on upgrades against the month-over-month reduction in energy charges.
Common Misconceptions and Oversimplifications
-
Myth: “All LEDs are equally efficient.”
-
Correction: Efficacy ranges from 80 lumens/watt to over 200 lumens/watt. The “cheap” LED often uses older, less efficient chips.
-
-
Myth: “Low voltage (12V) is always cheaper to run than line voltage (120V).”
-
Correction: Total wattage is what matters. 60 watts at 12V is the same energy consumption as 60 watts at 120V, excluding transformer losses.
-
-
Myth: “Blue light is better for security.”
-
Correction: High-kelvin (blue-white) light causes more glare and skyglow. Warmer light (3000K) is often more effective for the human eye to perceive contrast at night.
-
-
Myth: “Leaving lights on all night is better for the bulbs than turning them on and off.”
-
Correction: This was true for old HID lamps, but is false for LEDs. LEDs are virtually unaffected by frequent switching.
-
Ethical and Practical Considerations
Reducing lighting costs also intersects with the “Dark Sky” movement. There is a growing ethical imperative to minimize light pollution, which disrupts migratory birds and human circadian rhythms. Strategically reducing costs by using shielded fixtures and lower light levels serves both the wallet and the environment.
From a practical standpoint, one must balance cost savings with “Duty of Care.” In commercial settings, reducing light levels too far can create liability issues regarding slip-and-fall accidents or criminal activity. Therefore, cost reduction must always be secondary to meeting minimum safety standards as defined by organizations like the Illuminating Engineering Society (IES).
Conclusion
The endeavor of how to reduce outdoor lighting electricity cost is a multifaceted discipline that rewards those who look beyond the surface level of wattage. It is a synthesis of modern semiconductor technology, intelligent control logic, and disciplined maintenance. By adopting a lifecycle-based approach and remaining vigilant against the rebound effect and “vampire” power draws, property owners can transform their outdoor lighting from a drain on resources into a finely-tuned, efficient asset. The most sustainable and cost-effective watt is, ultimately, the one that is never consumed.