How to Plan Landscape Lighting on a Budget: A Professional Design Guide
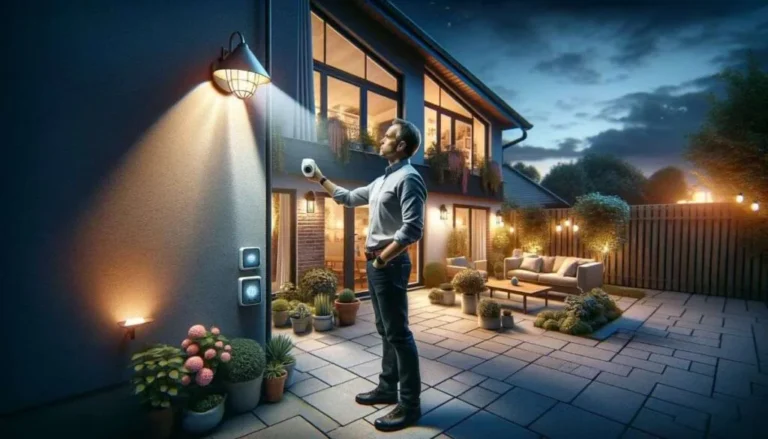
How to plan landscape lighting on a budget. Exterior illumination is frequently treated as a secondary aesthetic addition, a finishing touch applied once the “real” work of masonry and horticulture is complete. This perspective often leads to inflated costs and inefficient systems. True mastery of outdoor lighting begins with the recognition that light is a structural element of the nighttime environment. It defines boundaries, establishes safety, and dictates how a space is perceived after sunset. When financial constraints are introduced, the challenge shifts from mere installation to a rigorous exercise in value engineering and architectural prioritization.
Planning for cost-effective lighting is not synonymous with purchasing inferior components. Rather, it is an analytical process of identifying which shadows to keep and which features to emphasize. A common pitfall for the uninitiated is the attempt to illuminate everything uniformly, which results in a flat, “washed-out” appearance that is both expensive to install and costly to power. By contrast, a sophisticated, budget-conscious approach leverages the interplay between light and darkness to create depth, using the minimum number of fixtures to achieve the maximum psychological and functional impact.
The technical landscape has shifted significantly in the last decade, moving from high-wattage incandescent systems to low-voltage LED ecosystems. This transition has democratized professional-grade lighting, but it has also introduced a complex array of choices regarding color temperature, beam spreads, and transformer capacities. Navigating these choices requires a systemic framework that balances immediate capital expenditure against long-term operational costs. To successfully manage these variables, one must adopt the mindset of a designer who understands both the physics of light and the economics of home improvement.
Understanding “How to Plan Landscape Lighting on a Budget”
To address the question of how to plan landscape lighting on a budget, one must first redefine what “budget” means in a professional context. It is not merely a restriction on spending; it is an optimization of resources. A frequent misunderstanding is the belief that a lower budget necessitates “DIY-grade” solar stakes from a big-box retailer. In reality, these often represent a poor investment due to their short lifespan and inconsistent light output. A professional-grade budget plan focuses on high-quality, low-voltage (12V) infrastructure that can be expanded over time.
Strategic planning involves the “Phase-Zero” mentality. This means installing the core infrastructure, the transformer, and the main trunk lines first, even if only three or four fixtures are initially deployed. This prevents the “rip and replace” cycle that characterizes many poorly planned projects. By investing in a transformer with surplus capacity, the homeowner ensures that future additions do not require a complete system overhaul.
Furthermore, the risk of oversimplification in budget planning often manifests as “fixture count obsession.” Many believe that more fixtures equal better lighting. However, a single, well-placed 300-lumen wash light can often do the work of four 50-lumen path lights if the designer understands the reflectance of the surfaces being illuminated. Managing costs, therefore, becomes a matter of light placement precision rather than hardware volume.
Deep Contextual Background: The Evolution of Exterior Systems
Historically, landscape lighting was the exclusive domain of the wealthy, utilizing line-voltage (120V) systems that required deep trenching, conduit, and licensed electricians for every foot of wire. These systems were dangerous, inflexible, and prohibitively expensive. The energy crisis of the 1970s and the subsequent development of halogen technology began the shift toward low-voltage systems, which operated safely on 12 volts, allowing for shallow-bury cables and safer installation.
The most recent revolution, the LED transition, has fundamentally altered the cost-benefit analysis. Early LEDs were criticized for their “surgical” blue light and poor color rendering. However, modern high-CRI (Color Rendering Index) LEDs can mimic the warmth of traditional incandescent bulbs while using 80% less energy. This efficiency allows for thinner wire gauges and smaller transformers, which are the primary cost drivers in a lighting system.
Today, the systemic evolution has reached a point where “smart” controls once requiring expensive proprietary hubs can now be integrated via mesh networking and smartphone apps. This allows budget-conscious planners to implement sophisticated dimming and zoning without the need for complex hard-wired control panels.
Conceptual Frameworks and Mental Models
When contemplating how to plan landscape lighting on a budget, several mental models help simplify the decision-making process:
-
The Layered Illumination Framework: This model categorizes light into three layers: Task (pathways/stairs), Security (perimeter/shadow elimination), and Accent (trees/architecture). On a tight budget, one should prioritize Task and Security first, adding Accent layers in later phases.
-
The “Hierarchy of Sight” Model: The human eye is naturally drawn to the brightest point in its field of vision. By intentionally leaving some areas in shadow, you can guide the viewer’s eye to specific focal points, reducing the total amount of light needed to “finish” a scene.
-
The Maintenance-Free Margin: Every fixture carries a “maintenance debt.” More fixtures mean more lenses to clean and more connections to check. A budget plan should aim for the minimum number of fixtures required to meet the goal, thereby reducing future resource drain.
-
The Inverse Square Law Awareness: Light intensity diminishes rapidly with distance. Placing a fixture closer to its target allows for a lower-wattage (and cheaper) bulb to be used while achieving the same visual result.
Key Categories of Lighting Techniques and Trade-offs
A budget-friendly plan requires selecting techniques that offer the most visual “bang for the buck.”
| Technique | Method | Budget Impact | Primary Trade-off |
| Up-Lighting | Ground-mounted, aiming up at trees or walls | High Impact/Low Cost | Can cause light pollution if not shielded |
| Moonlighting | Fixtures high in trees aiming down | Expensive Install/High Value | Requires high-ladder work or arborists |
| Path Lighting | Low-profile fixtures along walkways | High Cost per Foot | Fixtures are prone to mower damage |
| Silhouetting | Lighting a wall behind an object | Low Cost | Requires a large, flat vertical surface |
| Shadowing | Casting a shadow of a plant onto a wall | Low Cost | Works best with specific plant structures |
Decision Logic for Budget Allocation
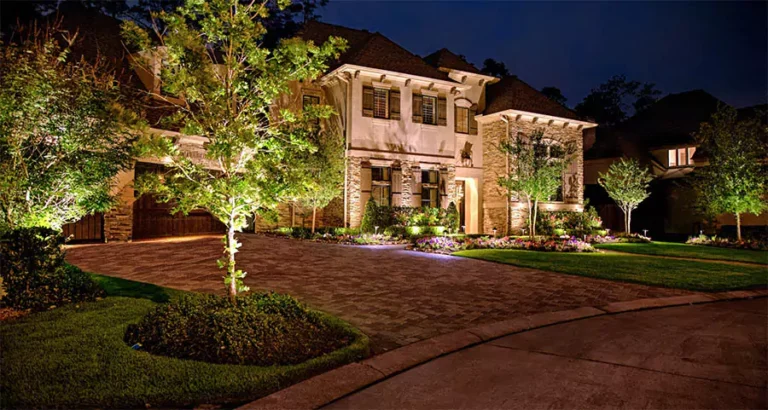
If the primary goal is curb appeal, focus 70% of the budget on up-lighting the front facade and key specimen trees. If the goal is backyard utility, pivot the budget toward Moonlighting or high-mounted Down-Lighting to cover large areas with fewer fixtures.
Detailed Real-World Scenarios
Scenario 1: The Small Urban Garden
The constraint here is space and proximity to neighbors. A budget plan avoids high-powered floodlights, which cause glare. Instead, it utilizes “micro-fixtures” hidden in the foliage.
-
The Move: Using three well-placed wash lights to “graze” a fence line.
-
The Result: The fence becomes a glowing boundary, making the yard feel larger without the cost of a dozen path lights.
Scenario 2: The Wooded Suburban Lot
With large trees, the temptation is to light every trunk. A budget-conscious designer identifies the two most structural trees and uses a “double-up” technique (two fixtures per tree) while leaving the rest dark.
-
The Second-Order Effect: This creates a sense of mystery and depth, as the dark trees recede into the background, emphasizing the illuminated “heroes.”
Scenario 3: The Multi-Level Deck
Safety is the priority. Instead of expensive decorative post-cap lights, the plan uses “under-rail” LED tape or small “eyebrow” lights on the stair risers.
-
Failure Mode: Using cheap adhesive for LED tape; it will peel within a season. The budget fix is to use mechanical clips.
Planning, Cost, and Resource Dynamics
The actual cost of landscape lighting is often hidden in the “invisible” components: the transformer and the wire.
| Resource Level | Estimated Cost (5-7 Fixtures) | Primary Activity |
| Entry Level | $300 – $600 | DIY kit, plastic fixtures, basic timer. |
| Value-Engineered Pro | $800 – $1,500 | Aluminum fixtures, pro transformer, hub-and-spoke wiring. |
| Authority Level | $2,500+ | Brass/Copper fixtures, zoned smart controls, professional design. |
The Opportunity Cost of “Cheap” Fixtures
A $20 plastic fixture may last two seasons before UV rays make it brittle or water ingress destroys the socket. A $70 cast-aluminum or brass fixture can last twenty years. In the context of how to plan landscape lighting on a budget, the “expensive” fixture is actually the cheaper long-term choice because its replacement frequency is zero.
Tools, Strategies, and Support Systems
-
The “Flashlight Test”: Before buying anything, use a high-powered, adjustable-beam flashlight at night to simulate fixture placement. This prevents buying lights that don’t achieve the desired effect.
-
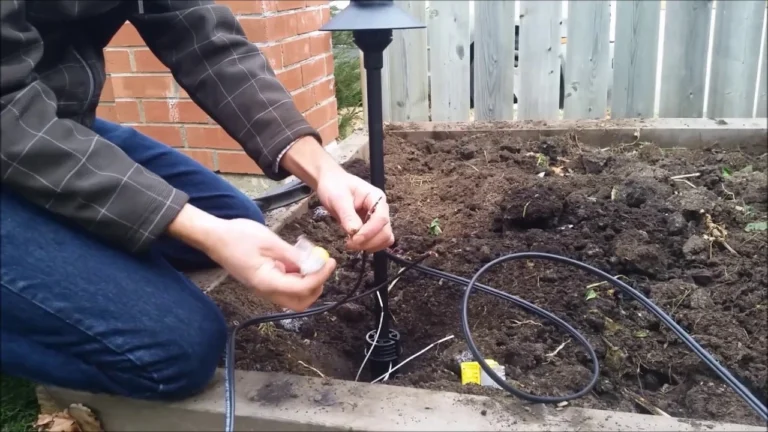
The Hub-and-Spoke Wiring Strategy: Instead of one long “daisy chain” (which leads to voltage drop), run one heavy-gauge wire to a central “hub” and then distribute smaller wires to individual fixtures.
-
Digital Multimeter: Essential for checking voltage at the fixture. Even a budget system must operate between 10.5V and 12.5V to ensure LED longevity.
-
Heat-Shrink Connectors: Standard wire nuts fail in the dirt. Using grease-filled or heat-shrink connectors is a low-cost way to prevent “ghost” failures.
-
Astronomical Timers: These adjust automatically for seasonal sunset changes, ensuring the lights aren’t burning energy during daylight hours.
Risk Landscape and Failure Modes
-
Voltage Drop: If the wire is too long or the load too high, the lights at the end will be dim or flicker, eventually burning out the LED driver.
-
Water Ingress: The number one killer of outdoor lighting. Budget systems often fail here because of poor connection sealing.
-
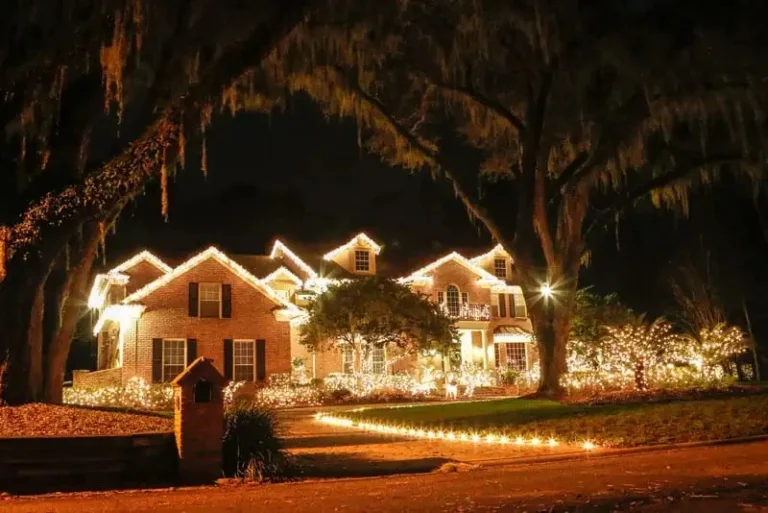
Over-Lighting: This creates a “gas station” aesthetic that devalues the property and annoys neighbors.
-
Soil Heave: Shallow-buried wires can be pushed to the surface by frost, where they are vulnerable to mowers and edgers.
Governance, Maintenance, and Long-Term Adaptation
To keep a budget system running, a maintenance cycle is mandatory. Without it, the “budget” savings are quickly lost to repair costs.
Annual Checklist
-
Exposed Wire Check: Walk the perimeter to look for wires pushed up by roots or frost.
-
Lens Cleaning: Mineral deposits from sprinklers can reduce light output by 50%.
-
Fixture Aiming: Wind and pets often knock fixtures out of alignment.
-
Vegetation Pruning: Trim plants that have grown to block the light source.
Adaptation Triggers
If you add a new structure (like a pergola) or a large specimen tree, re-evaluate your transformer load. If you are at 80% capacity, do not add more lights without upgrading the power source.
Measurement, Tracking, and Evaluation
How do you evaluate if you’ve succeeded in planning landscape lighting on a budget?
-
Quantitative Signal: Your utility bill should show a negligible increase. A 10-fixture LED system should cost less than $15 per year in electricity.
-
Qualitative Signal: Can you walk the path safely without “hot spots” (areas of blinding glare)?
-
Documentation: Take a photo of the wire runs before you bury them. This “as-built” map is invaluable for future landscaping or repairs.
Common Misconceptions and Oversimplifications
-
Myth: “Solar lights are the best budget option.”
-
Correction: They are “disposable” lighting. For long-term value, low-voltage wired systems are superior.
-
-
Myth: “I need a 120V system for bright lights.”
-
Correction: Modern 12V LEDs can be incredibly bright; 120V is now only necessary for massive commercial stadium-style lighting.
-
-
Myth: “Light must come from the ground.”
-
Correction: Mounting lights in trees or on eaves is often more effective and keeps fixtures away from mowers.
-
-
Myth: “Black fixtures are the most subtle.”
-
Correction: Bronze or “aged brass” finishes often blend better with mulch and foliage than stark black.
-
Ethical and Practical Considerations
In the pursuit of budget lighting, one must not ignore the ethics of “Dark Sky” compliance. Over-lighting contributes to skyglow and disrupts local wildlife. A budget-friendly plan that uses shielded fixtures directing light only where it’s needed is both environmentally responsible and fiscally prudent. Furthermore, consider the “Light Trespass” factor; saving money by using a wide-angle floodlight instead of three narrow spots might result in a neighbor dispute that is far more costly than the extra fixtures.
Conclusion
Mastering how to plan landscape lighting on a budget is an exercise in restraint and strategic prioritization. It requires moving away from the “more is better” philosophy and embracing a design-centric approach that values infrastructure over ornamentation. By investing in a high-quality transformer, using the “hub” wiring method, and phasing the project over several seasons, a property owner can achieve a professional-grade aesthetic without the professional-grade price tag. The goal is to create a nighttime environment that feels intentional, safe, and atmospheric—proving that in the world of light, the most valuable tool is not the wallet, but the plan.